Preparation & Hanging
- Wipe the walls with a damp, clean cloth to remove dust and allow to dry completely
- All panels are numbered on the back. Start from left to right.
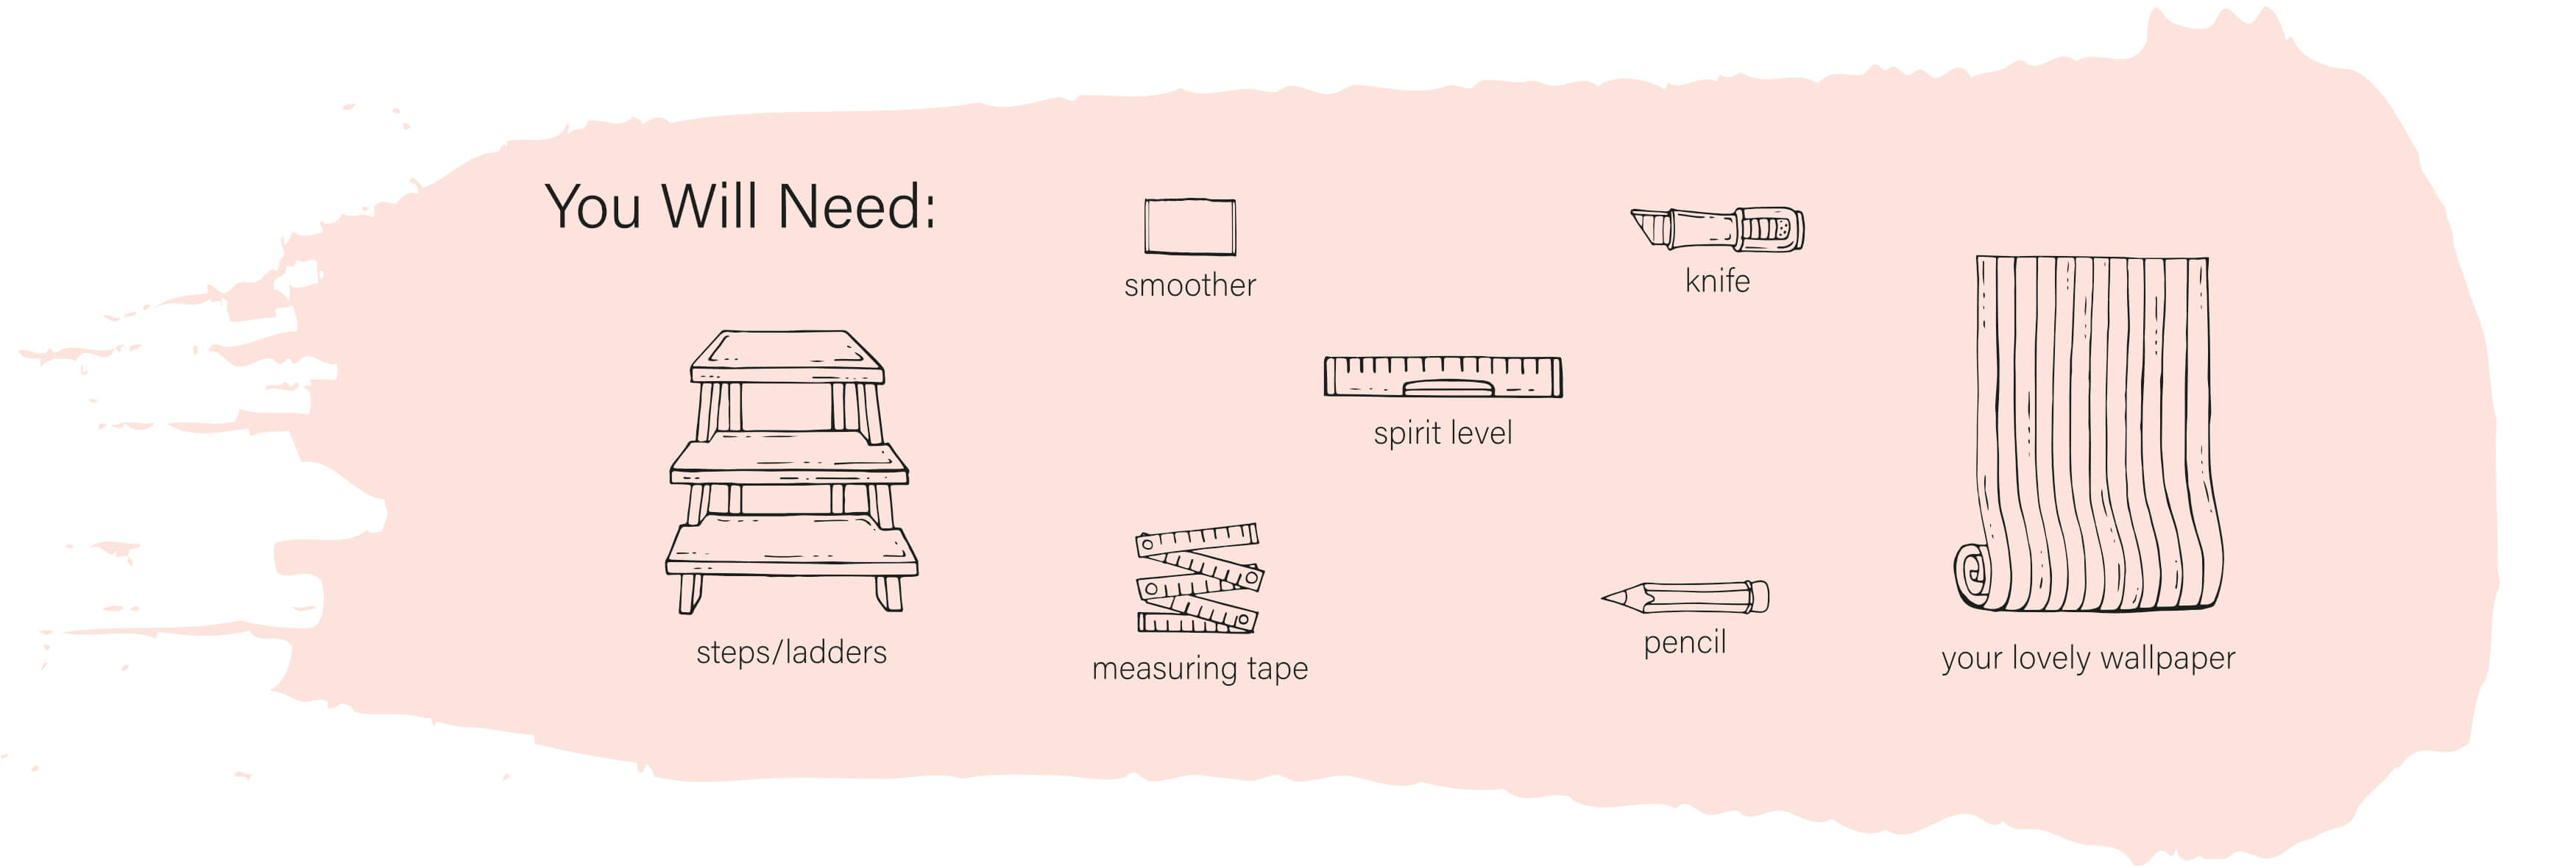
- Not all walls are straight so to ensure the panels are installed correctly it may help to use a spirit level. You will need a pencil and measuring tape.
- Firstly, measure the width of the first wallpaper panel.
- Minus 5cm from the measurement. Example: 70cm - 5cm = 65cm
- Where your first panel will sit, place the measuring tape horizontally and create a small pencil mark. In this example, 65cm. This will be the width of your first panel minus 5cm for trimming later.
- From this pencil mark, use the spirit level to create a vertical straight line. Use this line as your guide when applying your first wallpaper panel. This ensures that your wallpaper is straight.
Installing the First Drop
Tip: Don't allow the wallpaper to stick to itself, it may be difficult to separate it again. Ask a friend to give you a helping hand.
- Being installation by pulling back the top 20cm of material from the backing. Gently fold the backing down and out of the way.
- Remember to take into consideration the excess that you have added at the top, side and bottom of your panel to allow for trimming.
- When applying to the wall ensure you leave a 3.5cm excess top and left for trimming, ensuring that the right hand edge aligns with your vertical pencil line.
- Press and smooth from centre out to sides to remove any air bubbles or creases.
- If at this point you don't think the panel is straight, just gently peel away and re-apply. Don't be afraid to do so. Continue by pulling the backing paper down in 20cm sections and smoothing with a wallpaper smoother or credit card as you go. Ask our friend to gently pull away the backing paper whilst you smooth out any air bubbles.
- Check the panel for alignment and creases before applying the next panel.
Additional Drops
- Apply the second and subsequent panels. Carefully align the pattern of each panel to the next so there are no gaps in between, remembering to leave no more than 5cm excess top and bottom for trimming.
- Once all panels are up and in place, you can begin trimming the edges. Firstly, take your smoother or credit card and ensure the wallpaper is properly adhered around all edges. With firm and steady pressure use a sharp Stanley knife or scalpel with new blade to cut along with edges.
- Remove the excess strip and repeat around all edges and you are done!